*Save the date for the next International Repair Day: 21 October 2023!*
Repair Everywhere – October 15th is the sixth annual International Repair Day!
This year for Repair Day, we want to show the world that you can find Repair Everywhere. In the world we live today, repair is often not at the forefront of people’s minds. Instead, we are encouraged to just replace our things when they break. Not only can this be an expensive solution, at a time when many people do not have money to spare, this way of thinking is also incredibly harmful to the planet.
We want to make repair so visible that it will become everyone’s first port of call when something breaks. We’re asking novices to try out new fixing or maintenance techniques, fixers will showcase their favourite repairs, and we’ll celebrate the brilliant community repair groups and businesses that are at the heart of our movement. And we want everyone to share their fixes on social media so that as we approach 15th October, repair really will be everywhere.
What simple repairs could you try?
Clean
Our friends at eSpares say that you should clean your toaster every 1-2 weeks. Is yours due some TLC?
Step 1
Unplug your toaster, remove the racks and the crumb tray to empty and clean.
Step 2
Wipe the inside with a damp cloth and washing up liquid.
Step 3
Scrub away burnt-on food with an old toothbrush.
Step 4
Wipe the outside with a soapy cloth. If its chrome – crumple a ball of aluminium foil and rub off any rust spots.
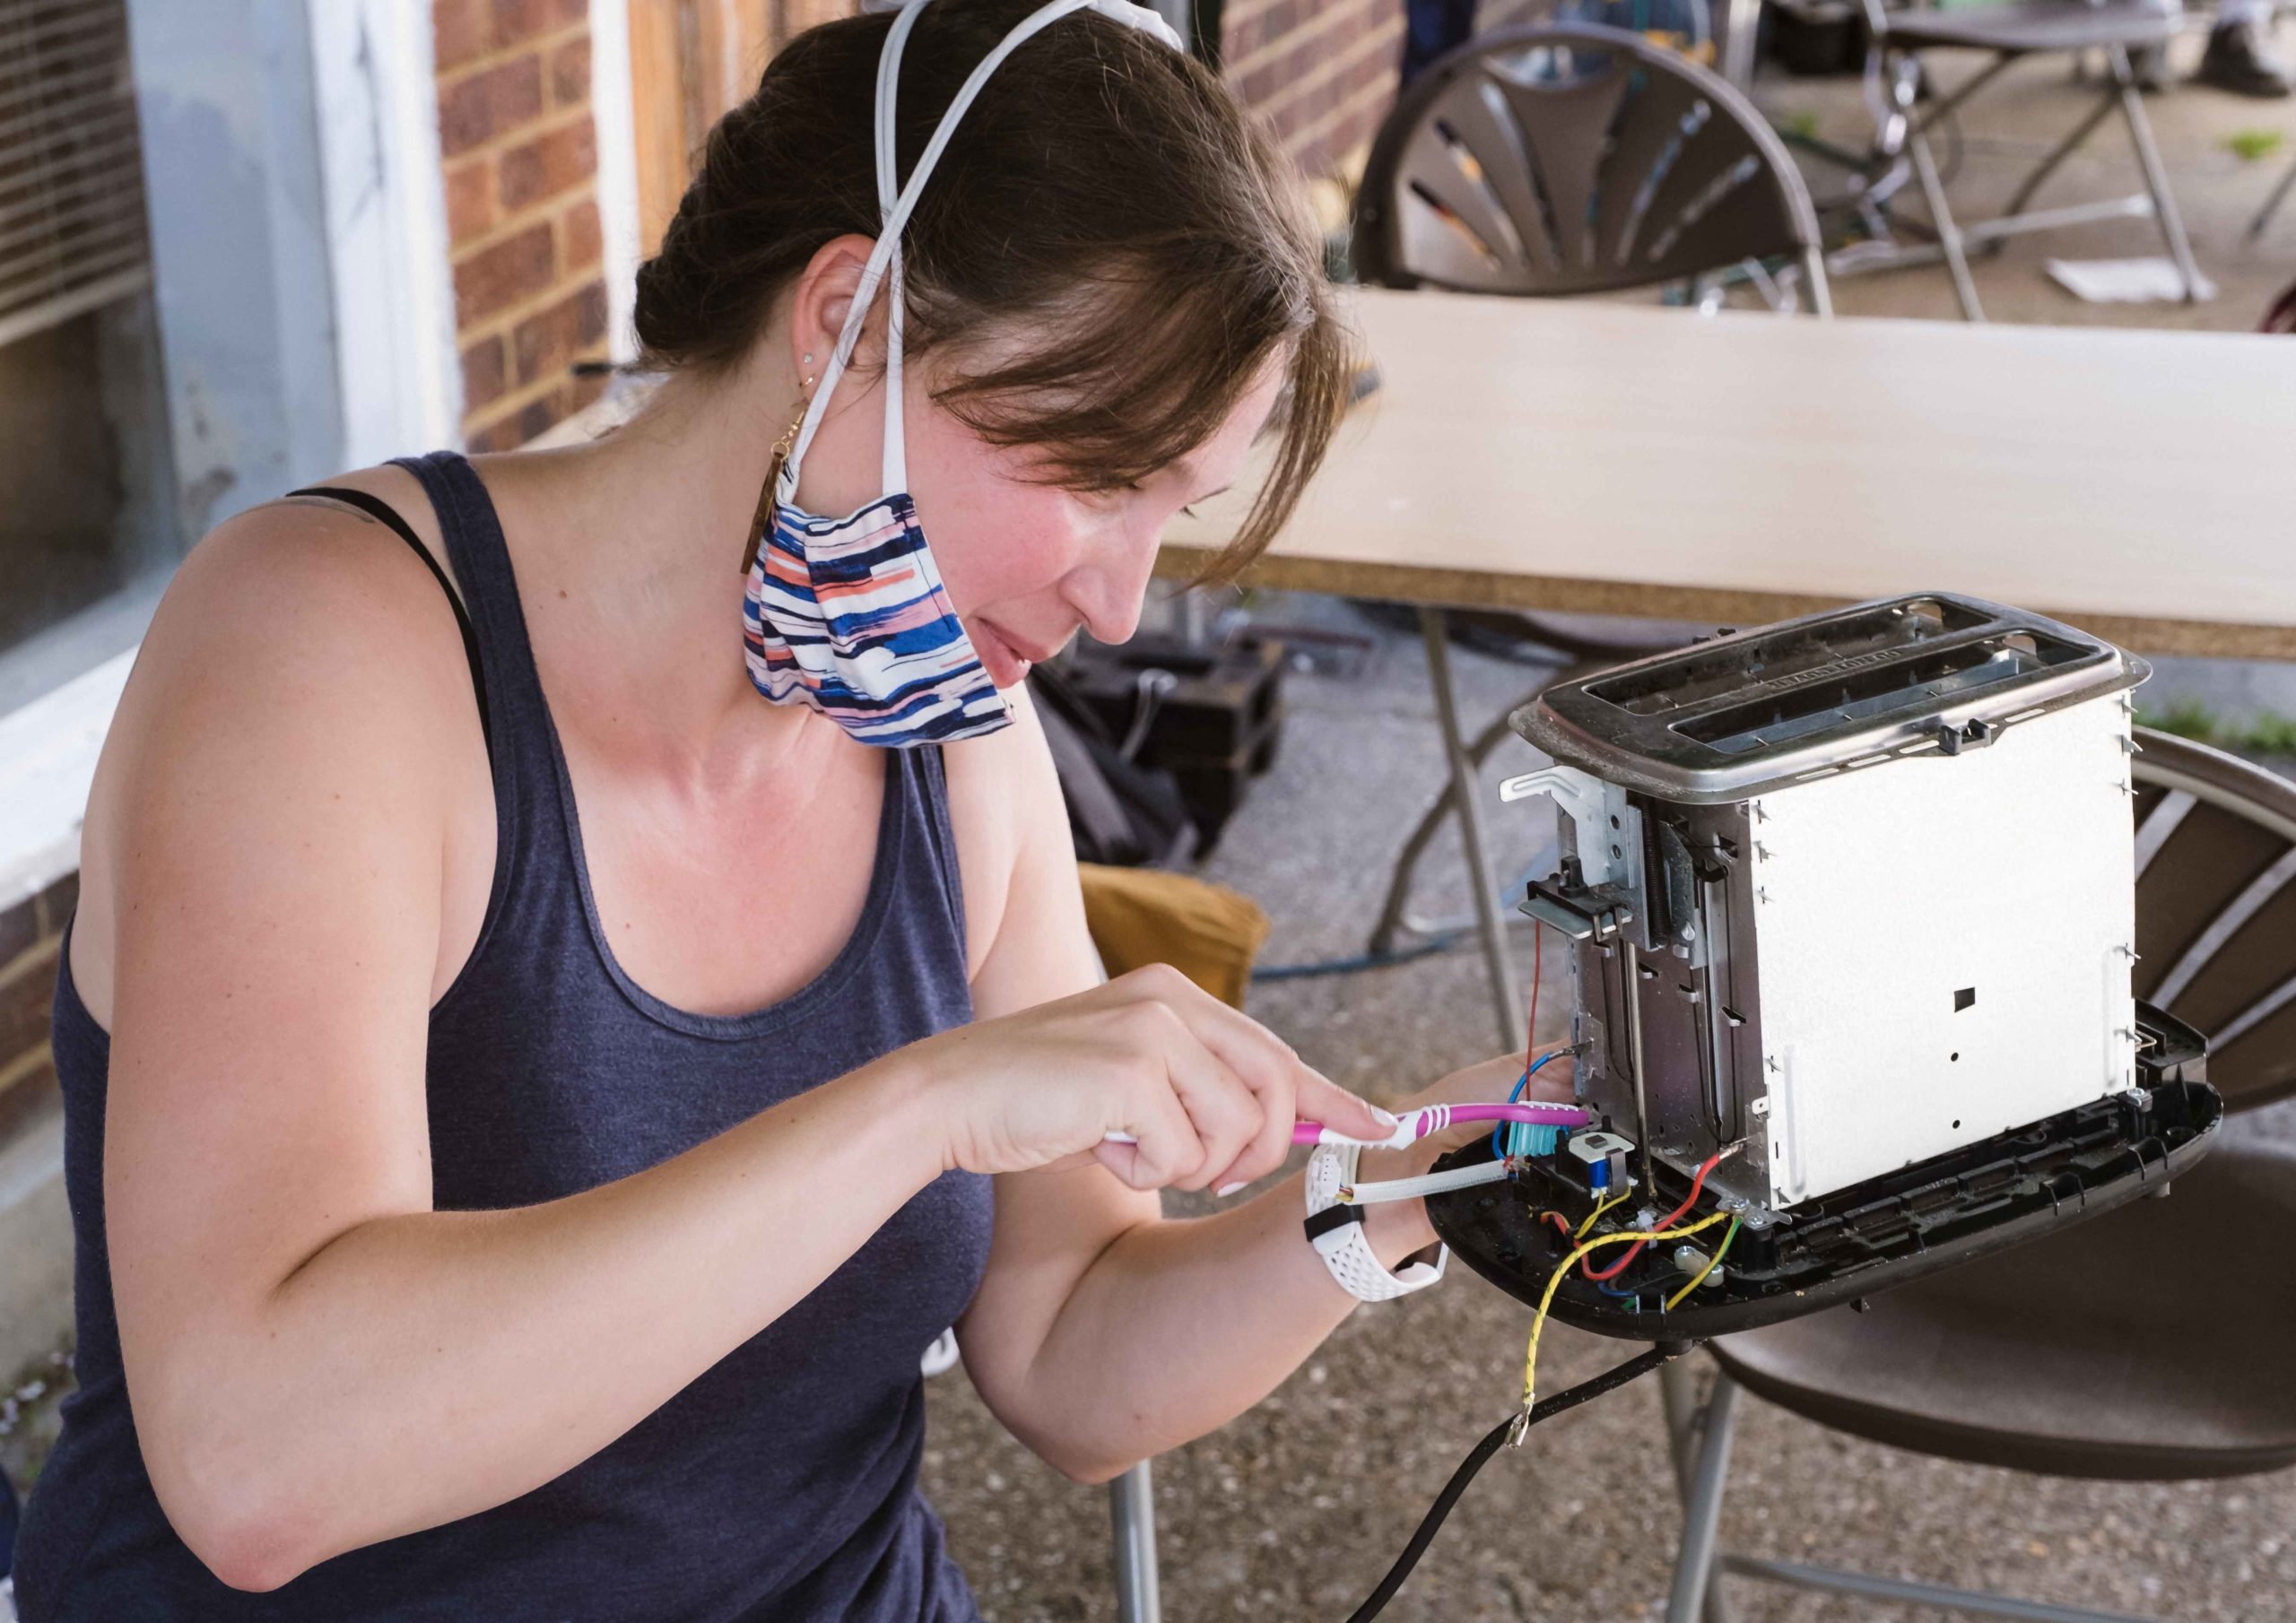
Photo courtesy of Mark A Phillips
If your laptop isn’t brand new, the fan probably needs a clean. A dusty laptop fan can make it easy for your device to overheat and affect performance.
All laptops are different and some are a lot more difficult to open than others – especially when there’s glue involved. Our friends at iFixit can help you work out how to open your specific machine and make sure the motherboard is safe to clean. Once you’ve done that, cleaning it is quite straightforward. Just make sure you’ve got a used toothbrush and some compressed air handy!

Revive
Pump up your bike tyres… or if it’s really old, change your bike tyre all together.
Our friend Jenni Gwiazdowski from London Bike Kitchen made this amazing video tutorial on how to change your bike tyre carefully and efficiently.
Step 1
Slightly pump up the tube before you put it in your new tyre. If it’s too big then just deflate a bit
Step 2
You’ll only ever be able to put one side of the tyre on first, then the other.
Step 3
Do not use tyre levers to put your tyre on, you are very likely to cause a pinch flat explosion if you do this
Step 4
The final 2 checks are to make sure the tube is not going to sneak out the side or push up the tyre at the valve.

“Flat tyre on a city bicycle” by Ivan Radic is licensed under CC BY 2.0.
Many of us do not descale our kettles often enough. And if limescale builds up it can make our appliance less efficient and eventually unusable. ESpares share how to use a descaler to quickly give your kettle a refresh.
Step 1
Fill the appliance with water up to the limescale marks.
Step 2
Add approximately 100ml descaler (1/5 of the bottle content) per 1/2 litre of water.
Step 3
Heat up the solution to approximately 50°C and let it stand for about 30 minutes.
Step 4
Finally, rinse thoroughly with water
Fix
Do you have a faulty cable or headphone wire? Our friends at Sugru may be able to help you fix it with their tutorial.
Step 1
Add a light coat of soapy water onto your cable mould using a paintbrush. Shake off the excess.
Step 2
Use half a single-use pack of Sugru and roll it into a long sausage, roughly the length of the mould. Press the Sugru flat and then wrap the Sugru around the cable and press it into a rough shape making sure that there is more near the connector end of the cable.
Step 3
Place the cable between the two mould pieces.
Step 4
Press the two parts of the mould together and rock from side to side. This gives the Sugru into the mould shape and pushes the excess Sugru out. In professional compression moulding this is called flash.
Step 5
Lift one side of the mould off and trim off the excess Sugru.
Step 6
Apply more soapy water to the mould and repeat the moulding and trimming process.
Step 7
Leave the Sugru to set and after 12-24 hours it will turn into strong and flexible rubber!
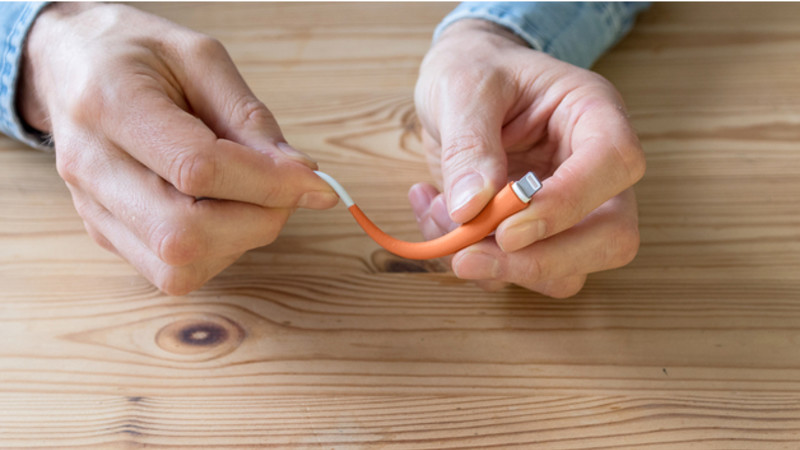
Photo courtesy of Sugru
If you’ve got an old pair of ripped jeans buried at the bottom of your cupboard, this is the perfect time to mend them! You can do this as creatively or practically as you like. Fashion Revolution has a great guide for different ways to make your jeans better than new.
Step 1
Measure out how big you need to make your patch. As a rule of thumb, always ensure your patch covers 2cm past where the tears/hole ends.
Step 2
Take the measurements from step 1, add 1cm seam allowance around the edges and then cut your patch. On the back/reverse side of your fabric, take your measuring tape and chalk/pin 2cm in from the edge all around the patch.
Take your patch to the ironing board, fold up the seam edge to meet your chalk lines/pins and press down. Repeat this for all 4 sides of the patch.
Step 3
Pin your patch to your jeans. Place your pins in the 4 corners of the patch.
Sew in your patch, being careful to remove the pins as you sew.

“sashiko stitch and patch” by Flickr user woolgenie is licensed under CC BY 2.0

How are you going to celebrate?
There are already loads of events registered on our global map of confirmed activities on and around Saturday 15 October.
You can submit your own event, initiative or endorsement with this form and we’ll add it to the map so that people in your local community can join in.
And there are plenty of ways that everyone can celebrate at home too. These include:
- repair an item that you’ve had lying around for a while – try the tips above;
- If you want to get creative, try repairing in an unexpected place, and bring Repair Everywhere to life;
- share your experience and post a photo/video of your repair on social media using the hashtag #RepairDay #RepairEverywhere;
- encourage your family and friends to do the same;
- pass on your knowledge by helping someone else with a repair;
- or support a local repair business.
However you are celebrating the day, we’d love to hear about it. We’ve updated a social media toolkit for Repair Day, which you can view here. You can also sign up to our newsletter for updates.
Emmanuel Baffoe Bonney
This is really amazing.